
itchen remodels require a multitude of skills from conception to completion, and ours was no exception. From tearing down walls to replacing floors, we’ve been through it all — and we’re exhausted. Luckily, the very last change was the quickest and easiest to tackle.
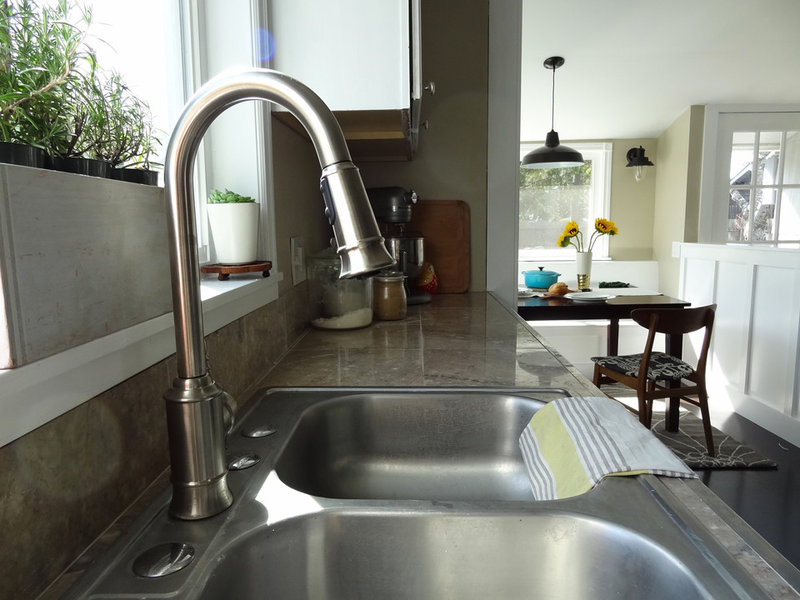
Replacing our basic kitchen faucet with a gorgeous one-handle high-arc pull-down faucet was the finishing touch our kitchen remodel needed. The process was surprisingly easy — it’s a do-it-yourself project that almost anyone can accomplish.
All you’ll need are a new faucet and a few household tools:
- Adjustable basin wrench
- Slip joint pliers
- Safety glasses
- Bucket or bowl for catching water
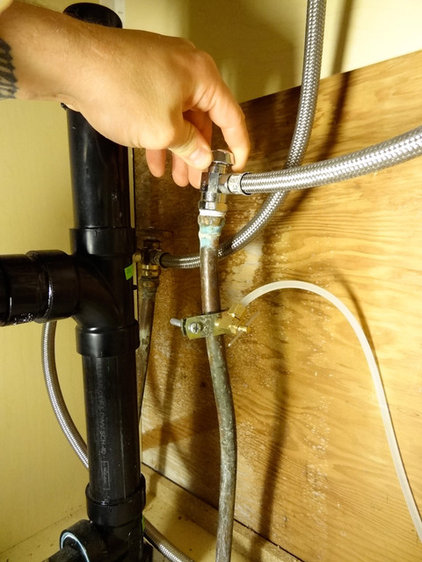
Clean out the area underneath the sink so you have ample space to inspect your work area and move about freely. Next, turn off both the hot and cold water supplies via the shutoff valve under the sink. Test that the water is off at the faucet.
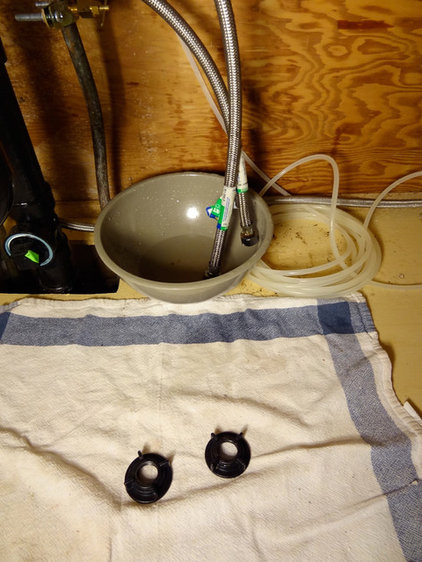
Using a basin wrench or slip joint pliers, unscrew the connections for each water line at the shutoff valve.Have a bowl handy to catch any residual water, and place the ends of the water lines in the bowl.
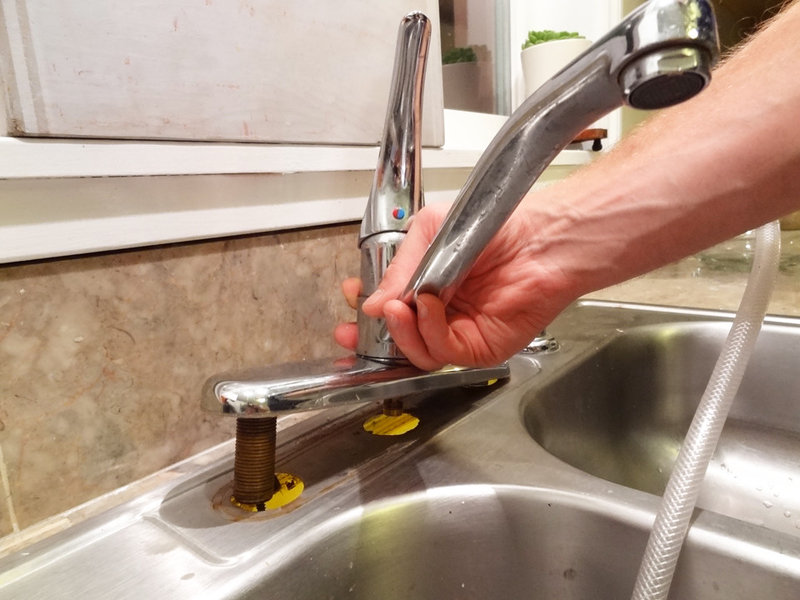
Unscrew the mounting nuts that hold the faucet to the sink, using either the wrench or the pliers. Remove the faucet from the sink and set it aside. Instead of tossing the old faucet into the trash, consider donating it to a salvaged goods shop, like a Habitat for Humanity ReStore. Check here for locations
Once the old faucet has been removed, clean the surface of the sink. I used a baking soda paste to eliminate water stains.
Once the old faucet has been removed, clean the surface of the sink. I used a baking soda paste to eliminate water stains.
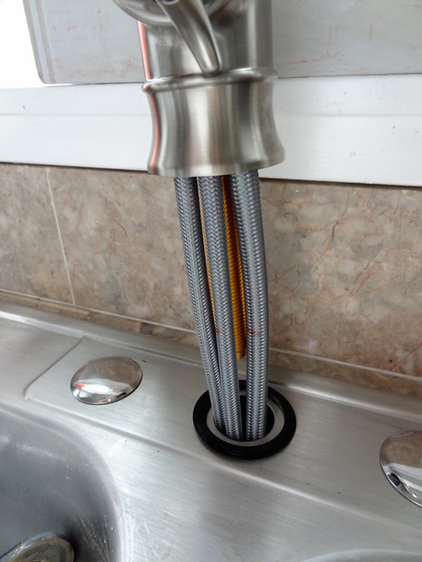
Place the gasket that came with your new faucet around the sink hole and slip the supply lines and faucet tailpipe through. Our new Moen Woodmere faucet required only a single hole for installation, so we capped the remaining three holes on our stainless steel sink with covers that can be found at any hardware store. In lieu of capping, consider adding accessories such as a soap dispenser, water filter faucet or hot water dispenser. You can also use the deck plate that is provided with some models.
Note: Some faucets do not include gaskets; you need to apply sealant to the sink.
Note: Some faucets do not include gaskets; you need to apply sealant to the sink.
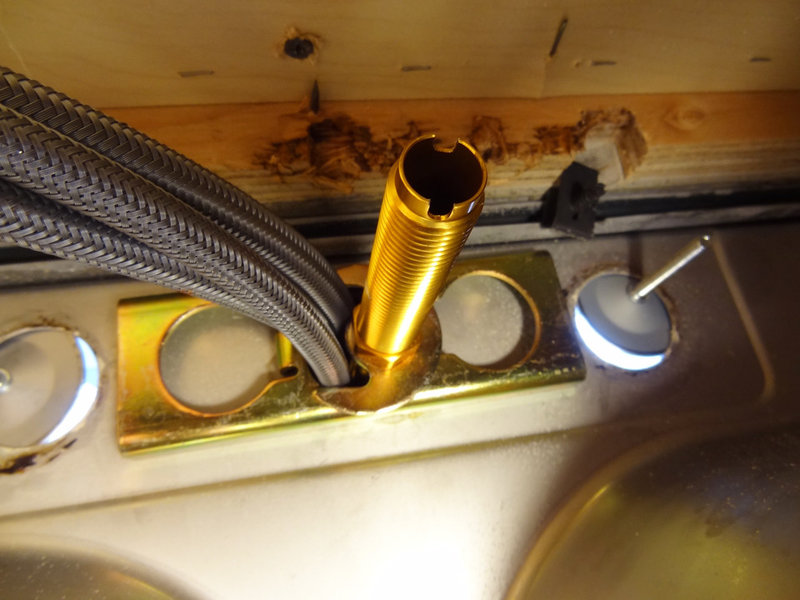
Secure the faucet in place from beneath the sink with the provided installation hardware. Ensure the faucet is positioned correctly and then tighten the mounting nut securely. Check the faucet from above to make sure it doesn’t wobble or wiggle.

Attach the faucet’s supply lines to the shutoff valves and tighten the connections with a wrench.
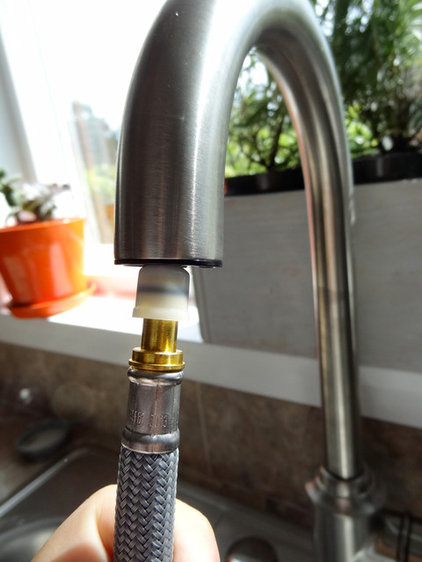
Our faucet included a pullout sprayer, which required a few extra steps. If yours does too, simply insert the spray hose through the faucet and push through until the hose is visible beneath the sink.